

Ever looked at a tiny model train or dollhouse and wondered how they fit real-looking lights inside? The secret is miniature led lights. These are small, powerful, and easy to use once you know a few basics.
With the right choice of size, color, and power, you can light up models, crafts, dioramas, and even small decorations at home. In this guide, you will learn what these tiny LEDs are, how to pick the right ones, and simple wiring tips so you can start your own creative projects with confidence.
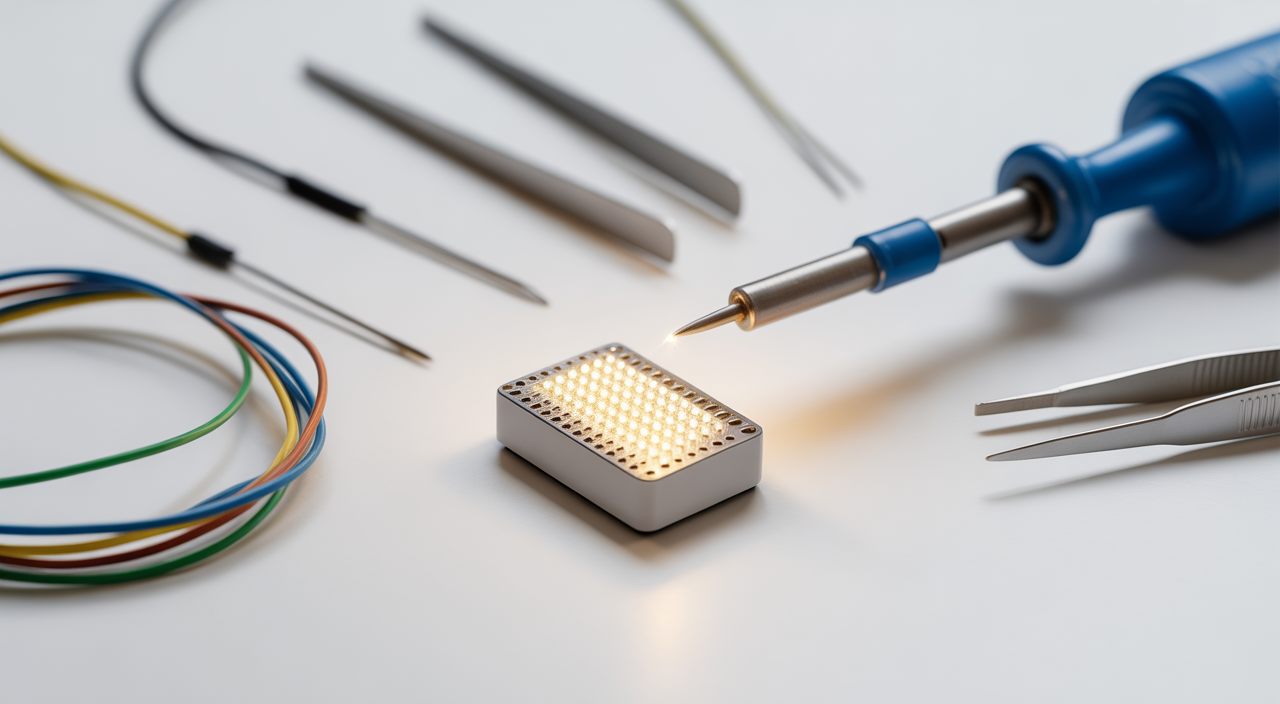
This article is perfect if you are a hobbyist, a crafter, or you just love building small things that look “real”. By the end, you will know exactly how to use miniature LED bulbs safely, neatly, and affordably.
What Are Miniature LED Lights?
Miniature LED lights are very small light‑emitting diodes designed for compact spaces. They are much smaller than regular LED bulbs you see in home lighting. Many are only a few millimetres long.
They come in several common sizes, often called “SMD” (surface mount device) packages. A few popular ones are:
- 0603 LEDs – about 1.6 mm × 0.8 mm, great for tiny details and fine scale models
- 0805 LEDs – about 2.0 mm × 1.25 mm, a good balance between size and ease of handling
- 1210 LEDs – about 3.2 mm × 2.5 mm, brighter and easier to solder, for slightly larger models
Because they are small and low‑profile, these tiny LED diodes are perfect for model trains, car dashboards, aircraft instrument panels, and diorama lighting LEDs. They use very little power, do not heat up much, and last for thousands of hours.
How To Choose The Right Mini LED For Your Project
When you choose small LED diodes for a project, think about three main things: size, brightness, and voltage.
- Size: Match the LED size to your scale. For a 1:87 or 1:100 scale model, 0603 or 0805 SMD micro LED parts are ideal. For larger dollhouses or RC cars, 0805 or 1210 are easier to work with.
- Brightness: LED brightness is often given in “mcd” or “lumens”. For indoor models, too much brightness can look harsh. Warm white, low‑to‑medium brightness LEDs feel more realistic for homes and street lamps.
- Color: White, warm white, red, green, blue, and amber are most common. Use warm white for houses, cool white for factories or sci‑fi scenes, and colored LEDs for signs and indicators.
Also check the “forward voltage” (usually 2–3.3 V) and “forward current” (often 10–20 mA). These tell you what kind of power supply and resistor value you need so your hobby LED lights run safely.
Basic Power And Wiring Tips
Do not worry if electronics feels complex. With a few simple rules, you can power micro LED modules safely.
- Always use a resistor: LEDs need a resistor in series to limit current. Without it, they can burn out quickly.
- Series vs parallel: In series, current is the same through all LEDs but the total voltage adds up. In parallel, voltage stays the same, but the current adds up. For many beginners, wiring small groups with their own resistor in parallel is easiest.
- Pick a gentle power supply: A 3 V coin cell works for one or two LEDs. For many LEDs, use a stable 5 V or 12 V adapter and size your resistors correctly.
A simple “rule of thumb” for a single LED on a 5 V supply: a resistor of 330–1 k ohms usually gives safe brightness, depending on how bright you want the light.
Popular Uses Of Miniature LED Bulbs
The beauty of these low‑profile LED lights is how flexible they are. Here are some practical ideas to get you started:
- Model trains and dioramas: Light up station platforms, street lamps, house windows, and car headlights. You can even simulate night scenes with warm, dimmed lighting.
- Dollhouses: Add ceiling lamps, table lamps, and wall lights. Tiny LED bulbs hide in furniture, behind paper shades, or inside plastic beads.
- RC cars and drones: Use bright white LEDs for headlights, red for tail lights, and blue for light strips under the chassis.
- Crafts and decorations: Micro LED strips look great in festival decorations, wedding centrepieces, photo frames, and art pieces.
For more inspiration on creative craft uses, you can explore this helpful guide on creative ideas with tiny lights for crafts.
Simple Step‑By‑Step Tips For Working With SMD LEDs
SMD parts can look scary at first, but with a calm approach they are very manageable.
- Use the right tools: A fine‑tip soldering iron, tweezers, and thin solder wire make everything easier. Many hobbyists also like using pre‑wired miniature LEDs to skip direct soldering on the chip.
- Prepare your wires: Strip and tin the wire ends. “Tinning” means adding a tiny bit of solder to the wire before joining it to the LED pad.
- Check polarity: LEDs have a positive (+) and negative (−) side. The datasheet or small mark on the body will show this. If wired backwards, they will not light, but usually are not damaged at low voltage.
- Secure after soldering: After the LED works, fix it in place with a small dot of glue or clear resin so wires do not move and break.
Take your time, work under good light, and consider doing a quick practice on a spare LED before working on your main model.
Where To Use Addressable And Strip‑Style Mini LEDs
Sometimes you want more than simple on/off lighting. Addressable mini LEDs and micro LED strips let you control each light individually for effects like chasing lights or color fades.
These are great for:
- Light shows in sci‑fi models or spaceships
- Animated billboards in city dioramas
- Music‑reactive lighting in small art pieces
They usually need a small controller board and basic programming, but many starter kits make this very beginner‑friendly.
Buying Quality Miniature LEDs
When choosing a supplier, look for clear specifications, consistent quality, and good support material. Key things to check are size, color, forward voltage, and whether the LEDs are pre‑wired or bare SMD packages.
If you enjoy learning about how technology shapes creative work, this article on how technology has transformed creative industries is an interesting side read while you plan your lighting projects.
FAQ On Miniature LED Lights
Q1: How many miniature LEDs can I run from one power supply?
Answer: It depends on the power supply voltage and current rating, plus how you wire the LEDs. For a 12 V, 1 A adapter, you can safely run dozens of small LEDs if each one has its own resistor and you keep the total current under the adapter’s rating. Always calculate or at least estimate current before adding more LEDs.
Q2: Are miniature LEDs safe to use in paper or cardboard models?
Answer: Yes, if powered correctly. Miniature LEDs produce very little heat compared to traditional bulbs. Use the correct resistor, avoid over‑driving them, and keep any power adapters in open, ventilated spaces. That way, they stay cool and safe even in delicate paper or card projects.
Q3: Can I dim miniature LEDs without complex electronics?
Answer: A simple way is to increase the resistor value so less current flows, which makes the LED dimmer. For more flexible control, you can use a small dimmer module designed for low‑voltage LEDs, but for many models, just choosing a larger resistor gives a nice “soft” light level.
Q4: What is the easiest option for beginners?
Answer: Pre‑wired miniature LEDs are the simplest. The resistor is already included, wires are attached, and you only need to connect the leads to a battery or small adapter. This avoids fine soldering and lets you focus on placing the lights neatly in your craft or model.